Guide to video transcoding
How to start with transcoding aka fairly simple long general transcoding guide
Obsah
Introduction
So, again a transcoding (encoding – similiar terms) guide, this time general and in English. This one should serve as an equivalent for the Czech one i wrote some time ago (although much newer and up-to-date).
Note that this guide is for Windows (XP and later), since you efectively can’t transcode on Linux and other systems (in other words – Avisynth is for Win).
Also note that most of this guide focusses on video transcoding. Audio usually can be demuxed from source and muxed to output pretty easily.
I should stress out that I focus on transcoding of anime (Japanese animated movies/series) and so does this guide. There are slight differencies in settings required to meet satisfying quality with live-action stuff. However, the basic principles described here apply for any encoding.
Images used here are only ilustrational and should give general idea how the things should look like. For code examples refer to codes I have in the text.
Tools Required
- x264.exe – encoder (choosing versions: choose 32bit version since Avisynth is 32bit; 8bit/10bit version according to how wide compatibility you need – these days most PCs will play 10bit encoding, but some devices might not)
- Avisynth – frameserver
- notepad or other simple txt editor (not MS Word or something like that!)
- VirtualDub – for checking the script before actual transcoding
If you want to transcode DVDs (already decrypted), then additionally these:
- DGIndex – DVD indexing tool
About the Tools
Many people come to me and ask what do I use for transcoding – MeGUI? ZarxGUI? Something else? I don’t use any GUI. All you need for transcoding is Avisynth, x264.exe encoder and batch file to supply parametrs to x264.exe. Encoding then runs in command line. Nothing with GUI is needed (well, except some simple text editor and Windows OS).
Avisynth is so called frameserving SW. It takes frames from video, processes them and supplies them to encoder. It doesn’t have any GUI, so don’t expect any windows after instalation. It runs on background and you’ll never see it. You control it thru scripts, video processing is handled by plugins (filters) in form of .dll libraries.
x264.exe is encoder for h.264 codec, which is probably the most advanced codec you can get your hands on. It’s for free (basically; read licence if you want to make money with it or something). x264.exe has extensive posibilities of control via parameters but defaults are sane and good, so you don’t need to change anything. Discuss. (I’m not really good with x264.exe parametres.)
You will need text editor for creating Avisynth (AVS) scripts and batch files.
DGIndex creates index file of frames in DVD which allows Avisynth to read the vob (MPEG-2) files. You can use it for selecting certain parts of DVD (e.g. one episod of series), so you don’t have to encode it whole. It also outputs audio of selected part.
Encoding Process
Step 1: Creating AVS script
AVS script has to contain loading used filters, loading source video file and commands how to process the video. Basic filters don’t have to be manually loaded so some minimalistic script can look like this:
avisource("d:\encoding\source_video.avi")Avisource is name of plugin which loads avi videos. For more universal use, directshowsource() and FFVideoSource() are available. FFVideoSource needs to be loaded manually:
loadplugin("d:\encoding\AVS_filters\ffms2-r430\ffms2.dll")
FFVideosource("d:\encoding\source_video.avi")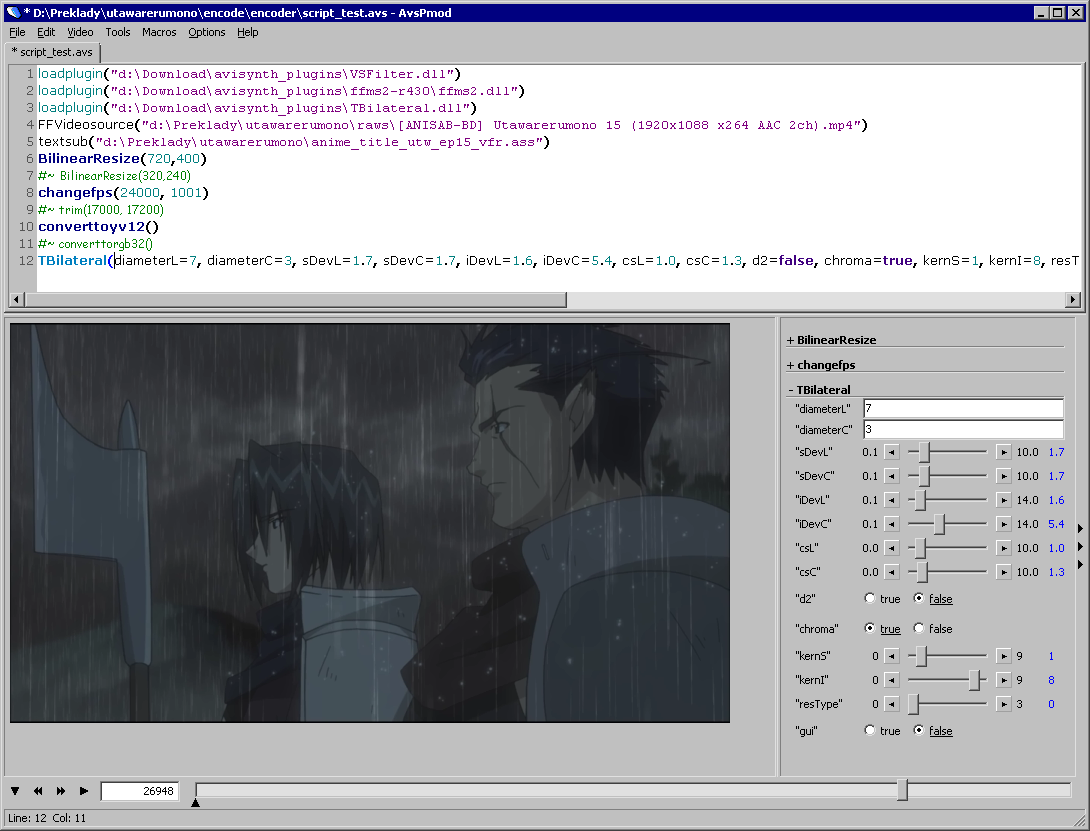
If you put all your plugins to plugin folder of Avisynth, then you don’t have to load them manualy. I don’t do it for certain reasons, you can.
MP4/MKV
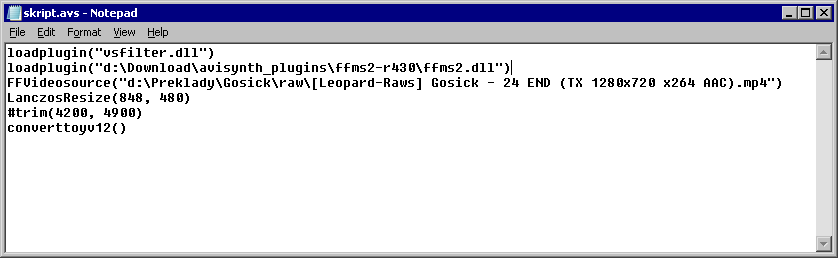
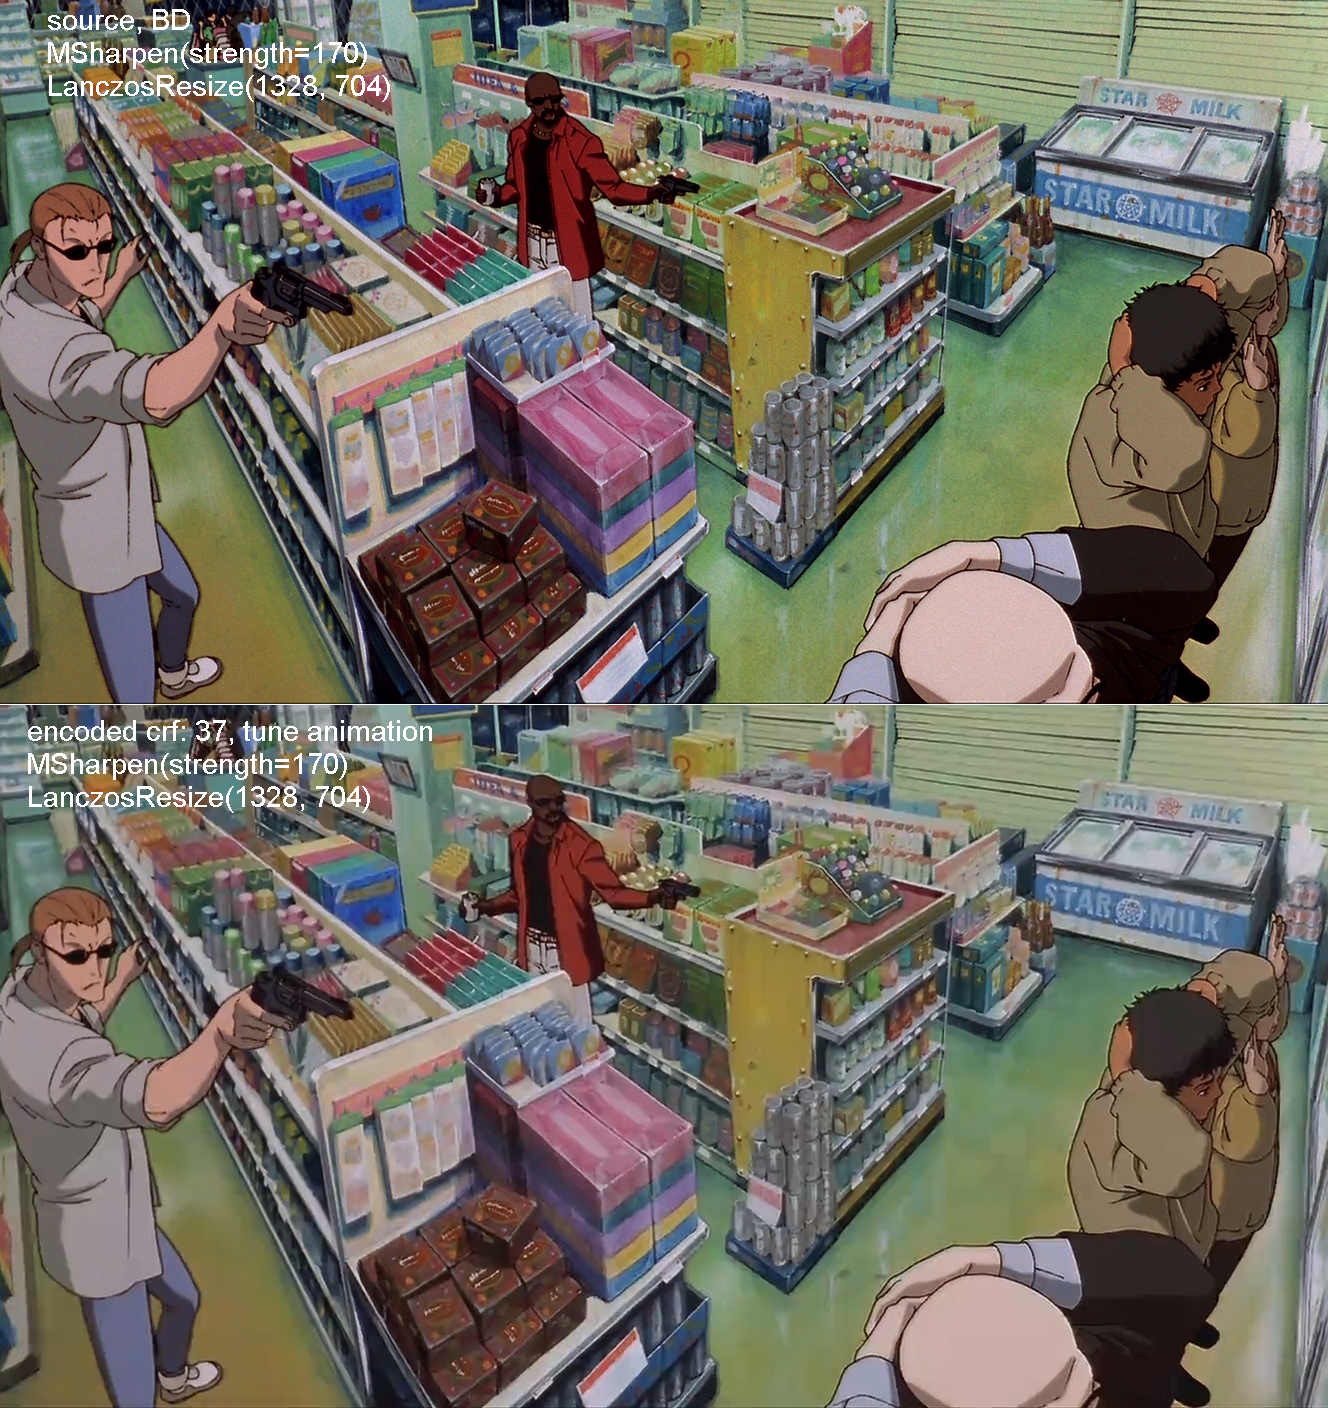
Now, let’s say you have full HD raw anime video in mp4 container (can be mkv too, doesn’t make difference) with h.264 codec that has 900 MB filesize, and you need to make it smaller and 720p (720p TV rip should be below 350 MB per 24 minutes) and you need to hardsub SubstationAlpha subtitles (ASS) to it (so they’re „burned“ in images). There is also some black border you want to crop out from the video. The script would look like this:
loadplugin("d:\encoding\AVS_filters\vsfilter.dll")
directshowsource("d:\encoding\Anime_ep01[1080p].mp4", audio=false)
Crop(0, 4, -0, -4)
LanczosResize(1280,720)
textsub("d:\encoding\sub\Anime_ep01_hardsub.ass")
This script loads VSfilter, which provides certain other filters (textsub). Then it loads video (without audio) using directshowsource. Then it crops 4 pixels from it on the right and left. Then it resizes the video using Laczsos resize method (for other method see AviSynth wiki on resizing). Then it hardsubs the subtitles into video. The processed frames then go to encoder.
You can create such script now and drag&drop it to VirtualDub to test it.
DVD
Now another example. Let’s say you have a DVD (in other words bunch of .vob files) and you want to transcode them into mkv with h.264 codec.
First you create .d2v file (index) in DGIndex. If you don’t know how to do this, refer to Using DGIndex - AfterDawn: Guides.
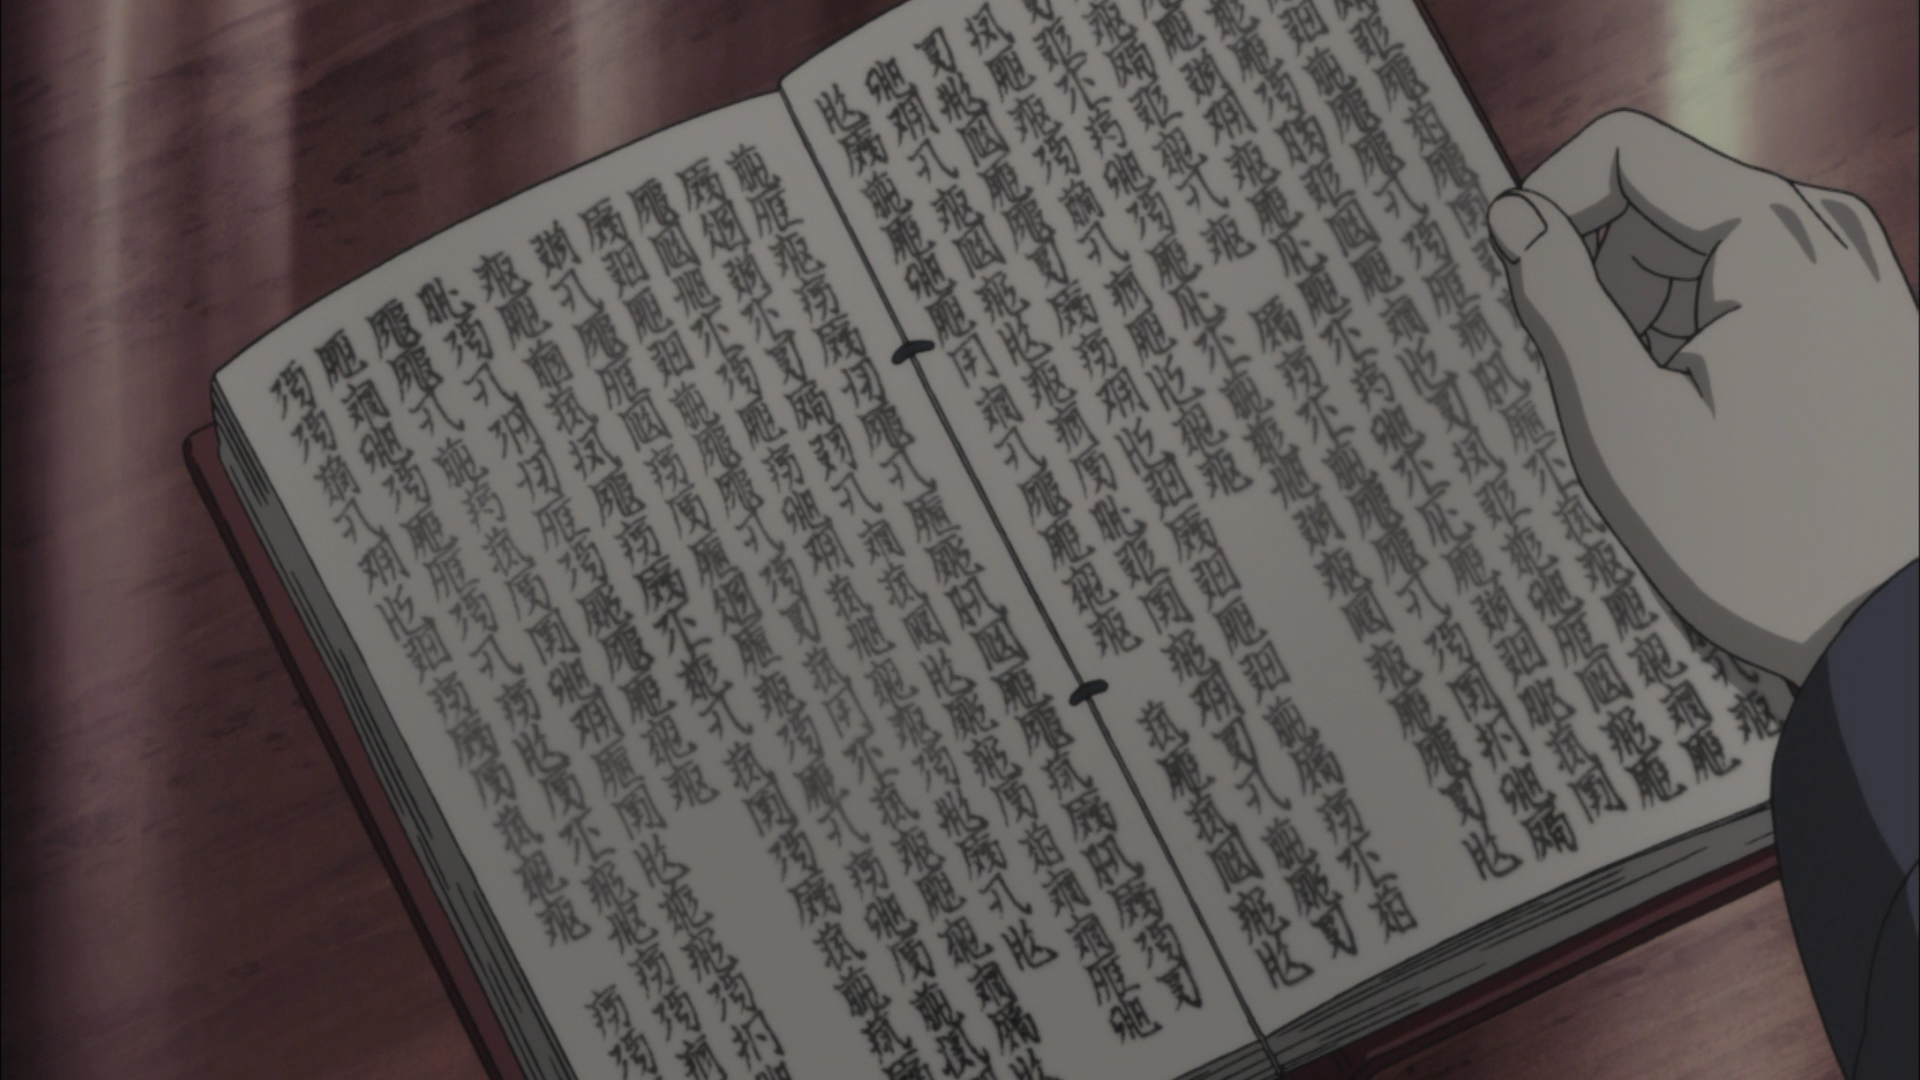
Now, be prepared that when you transcode DVDs you will need to do a lot of filtering. DVDs are usually the worst crap you can find considering the quality of image (except streams). Depending on region the DVD is from, it’ll have either 50 fieldes/second (25 full frames/second) or 60 fieldes/second (30 full frames/second). You will have to put these fieldes togeteher to create full frames. This brings need of deinterlacing and other stuff, it’s beyond frame of this guide to go into it more thoroughly. Your script basically needs to load d2v file, get rid of fieldes, deinterlace and clean image. Compare the cleaned (upper) and raw (lower) screens of DVD R1:


The script might look like this:
#in the 1st part of script we load plugins:
loadplugin("d:\encoding\AVS_filters\vsfilter.dll")
loadplugin("d:\encoding\AVS_filters\DGDecode.dll")
loadplugin("d:\encoding\AVS_filters\TDeint.dll")
loadplugin("d:\encoding\AVS_filters\ColorMatrix.dll")
loadplugin("d:\encoding\AVS_filters\TBilateral.dll")
loadplugin("d:\encoding\AVS_filters\TweakColor.dll")
loadplugin("d:\encoding\AVS_filters\MSharpen.dll")
loadplugin("d:\encoding\AVS_filters\TIVTC.dll")
loadplugin("d:\encoding\AVS_filters\RemoveGrain\RemoveGrain.dll")
loadplugin("d:\encoding\AVS_filters\WarpSharp.dll")
loadplugin("d:\encoding\AVS_filters\MaskTools-v1.5.8\MaskTools-v1.5.8\MaskTools.dll")
loadplugin("d:\encoding\AVS_filters\masktools-v2.0a48\mt_masktools-26.dll")
loadplugin("d:\encoding\AVS_filters\temporalcleaner_25_dll\TemporalCleaner.dll")
loadplugin("d:\encoding\AVS_filters\degrainmedian_20061008\degrainmedian.dll")
loadplugin("d:\encoding\AVS_filters\FluxSmooth-1.1a\FluxSmooth.dll")

# and in second part we process the image:

mpeg2source("d:\encoding\SomeDVD\SomeDVD_part01.d2v", info=3)
tfm(d2v="d:\encoding\SomeDVD\SomeDVD_part01.d2v")
ColorMatrix(hints=false, interlaced=true, threads=0)
tdecimate(mode=1,hybrid=1)
TDeint(order=1)
DeGrainMedian(limitY=5,limitUV=5,mode=1)
fluxsmoothST(4,4)
MSharpen(strength=50)
tweakcolor(sat=1.1, bright=-6, cont=1.4)
TBilateral(diameterL=7, diameterC=3, sDevL=1.7, sDevC=1.7, iDevL=1.6, iDevC=5.4, csL=1.0, csC=1.3, d2=false, chroma=true, kernS=1, kernI=8, resType=0, gui=false)
textsub("m:\Other\encoding\logoACX_v1.ass") #if you want to hardsub some logo in ASS subs or something
Well… it’s bloody long, isn’t it? If you want to understand it, study following:
- Mpeg2Source
- TFM, TDecimate
- Colormatrix
- DegrainMedian
- fluxsmoothST – generally about smoothers
- MSharpen
- tweakcolor
- TBilateral – yeah, awsome filter… you can spend days on settings like I did and you’ll never discover everything… of course there are maybe better smoothers, but I like this one.
Many filters and references for them can be found at Avisynth wiki.
Here you can download most of the filters I used in this script.
So that’s it for creating AVS script. That was the hardest part (although it’s actually very simple if you don’t start by encoding DVDs). We can now move on to the actual encoding.
Bluray
Encoding BDs is covered in my other guide here.
Step 2: Encoding with x264.exe
As I said, x264 has CLI (command line) interface, so any settings are passed to it by parameters. Syntax is like this:
x264.exe [options] --output outfile infileTo make it simplier, you can use batch file. To create one, open up notepad.exe and copy this:
x264.exe --crf 17 --preset slow --tune animation --output encoded_video.mp4 AVS_script.avs
pause
The parameters above mean folowing:
–crf– constant quality mode (variable bitrate), lower number means higher quality, sane range of values is 15-25. Higher the resolution is, higher values you can use. There is also –bitrate option sets constant bitrate (in kB/s) – do not use this unless you REALLY need predictable filesize!–preset– controls speed/compression ratio – slower speed means better compression and smaller output file.–tune– presetted tunning for film, animation, grain, stillimage, psnr, ssim, fastdecode, zerolatency. If you don’t really fit into any of them, don’t use it at all.encoded_video.mp4is output file,AVS_script.avsis input file.pause– that is command for windows CMD to wait for a keystroke.
Now you have this line in your text editor, save the file as encode.bat to the same folder where you have the x264.exe and AVS script. Then run it (as executable) and see what happens.
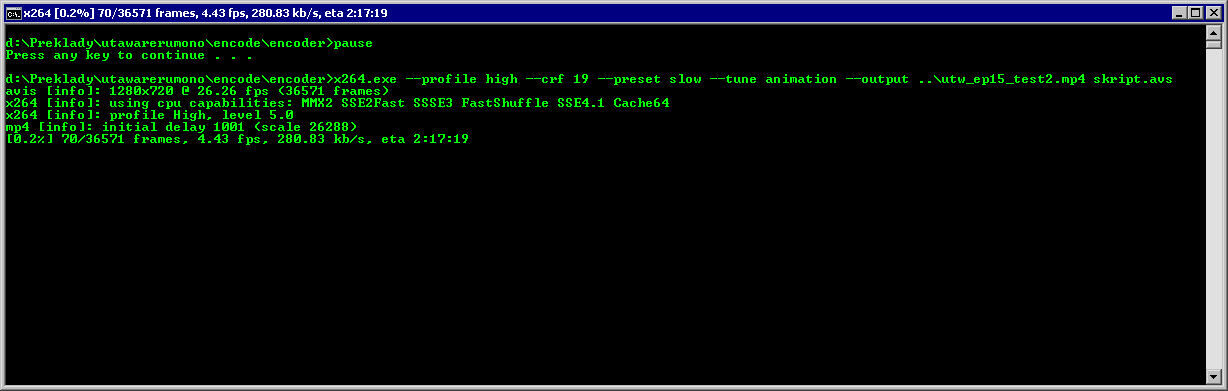
If everything goes how it should, you will see this:
If not, you might encounter screens like these:
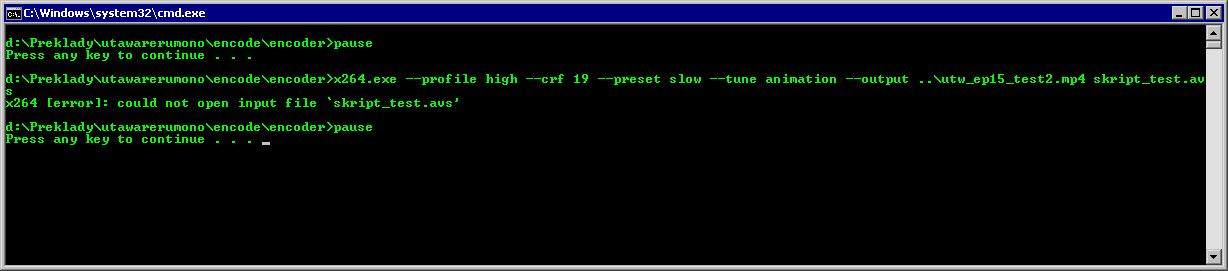
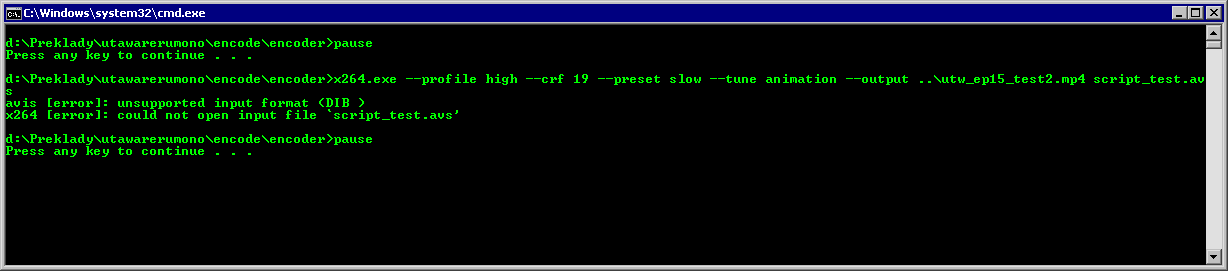
Now, what might have gone wrong:
- error in AVS script – you can be pretty sure that’s it. Open the VirtualDub, load the AVS file and see what it tells you. If you don’t understand it, google the error, it’ll probably help you. Most common errors are that plugin cannot be found (bad path), filter does not exist (plugin not loaded) and bad syntax.
- input files are not where they’re supposed to be – before you start freaking out check the paths
- Avisynth is given something it can’t read – aren’t you loading some .vob file or something which can’t be recognized by Avisynth?
- movax – for everything what goes wrong blame movax (version of this page on archive.org, also a related MSFN board post) .
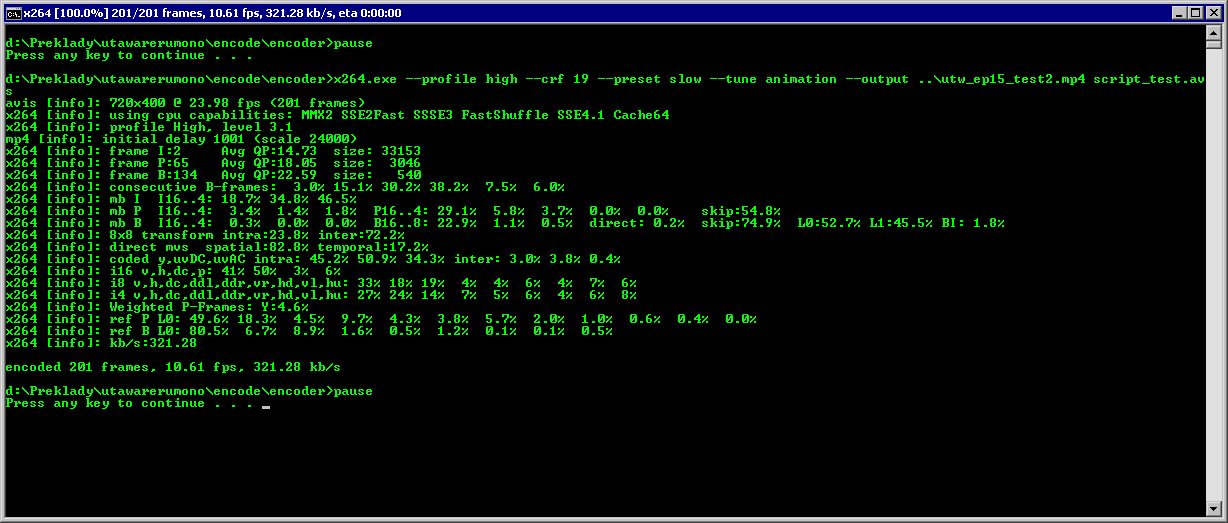
When you fix all the errors in your script, run the encode and wait long enough, it will finish and print out some statistics. When you see this, it means the encode finished:
Step 3: Audio
If you transcode whole files (you don’t cut off some parts), it’s very easy with audio. Demux the audio from the original file and mux it with the transcoded video. If you didn’t mess up with frame rates, everything should be OK. In case you were encoding DVD and you decided that you want film framerate (24000/1001 fps), then you might encounter problems with audio/video sync. However, this is again above the frame of this even now awfully long guide.
Step 4: Subtitles
If you have DVD and want to get text subtitles, then use SubRip for ripping subtitles from DVD and converting them with OCR to text subs. As for how to work with SubRip, see this guide (scroll down to the SubRip guide).
Then you can style the subtitles in Aegisub and mux them with video and audio.
Some pieces of advice
It might not look like it, but there is much to mess up when encoding.
Constant bitrate
Do not use constant bitrate! It’s total bullshittery. There is no sane reason to require predictable file size and thus constant bitrate. (No, nobody is burning videos to CDs anymore and nobody cares if the size is 233 MB or 258.4 MB.) With constant quality you can achieve better quality and smaller files.
Overcompressed video
Don’t be faggot and check if you have enough high –crf value set for your video. Each video requires something slightly different, but generally you won’t mess up using –crf 17 for 480p and smaller video resolution, then raise it by one for each cca 200 px of height of the video (very general rule and might not apply in some cases).
Undercompressed video
As I wrote in my BD guide, don’t be like THORA and CoalGirls and such fansub groups, which have 2 hours 1080p movie in 12 GB. For 2 hours anime movie 5 GB is far enough even with grain scenes in half of it. (Live action movies require slightly lower –crf values and thus bigger files, however 8 GB should be far enough too.) As for such movie in 720p, 3 GB should be enough. Episode of 24 mins should exceed 600 MB and 400 MB respectively. (Yes, I am being slightly inconsistent with the BD guide – the numbers are very approximate.)
Fluency
The resulting video should play fluently without any freezing. There are many causes of freezy video and I don’t even remember what I have encountered already. It is caused usually by skipping every few frames one frame or vice versa (duplicating frames).
A/V sync
Never produce file which has desynchronized audio and video tracks (and if you do subtitles, then they have to be in perfect sync too). This often happens when you transcode from one framerate (e.g. NTSC DVD, 30000/1001 fps) to another (e.g. film, 24000/1001 fps). You have to be careful when doing this.
Here is an awesome example of video out of sync.
Hardsubbing
Do not hardsub what doesn’t need to be hardsubbed. The only things you should hardsub is karaoke and maybe some small inobtrusive logo showing for few seconds that you have encoded it. Hardsubbing eats up bitrate and it usually sux since viewer can’t turn it off.
Videosize
Never upscale! But downscale sometimes – many BDs are DVD upscales (see image), so you can sharpen it and downscale it (in this order!) to 720p. Try not to do this if you feel you’d loose some details. Hint: very few anime have 1080p resolution, so you can downscale to 720p quite safely.
Don’t overfilter it
Don’t overuse filters. Encoder’s task is to convert video to pretty watchable PC format, not to create something new. Keep this in mind especially when cleaning DVD image. I myself used to tend to make image superclean and I usually found afterwords that I had created image so clean it was almost detailless. Try to avoid that.
Thanks to steelista for this advice.
Other
-
Terminating encoding process – you can do so in the commandline window by pressing ctrl-C. There is no way how to pause it, all you can do is select text in the window (Window Menu -> Edit -> Mark), this’ll pause the process. Unpause it by pressing escape key.
-
ConvertToRGB32 – when you open a script in VirtualDub, you might encounter green or blue video screen instead of the picture. Try putting ConvertToRGB32() line at the end of your script to avoid this. You have to remove/comment this before encode.
-
Speed – be prepared that the encode might take hours. Depends on your CPU speed, of course. Also note, that Avisynth is slow 32bit bitch, so if you have i7 CPU or something as awesome as that, you’ll have to run a few encodes (I run usually 4 on i7) at the same time to load it fully. These may share encoder (x264.exe file) and filters but cannot share the AVS file. Also pay attention to cooling.
I’ll maybe add stuff here.
Useful Tools
Except tools mentioned above some of following might come in handy.
- AVSPmod – text editor, supports AVS syntax and includes some tools like resize calculator.
- MP4Box GUI – mux/demux MP4 files
- MKV Toolnix – collection of tools for dealing with MKV (mainly muxing)
- MKV Extract – MKV demuxer
- MKV Cleaver – MKV demuxer with better batch support
Useful Websites
There are lot of pages about transcoding out there and believe me, you will sooner or later read tons of text on them. There are various guides scattered all over the Internet, but I picked the most helpful/important of them (in my opinion):
- Avisynth wiki – the only decently complex page about Avisynth I know is this wiki; note the menu below the header – that’s the important one
- mewiki – contains almost everything about x264 encoder; I go there for settings description if I need some of them
- Videohelp – actually… why am I writing this? Everything is there…
Epilogue
Not much to say here, but I always conclude! Well, something about me – how I learned transcoding. One day I told a friend on IRC that I wanna know how to transcode. He sent me four lines of code. Some 3 lines of AVS script and 1 line of batch file. And that’s how I started. Thanks, steelista. Then I learned about filters, for I needed to transcode one awful DVD. The encodes were awful too, by the way… This was 3 years ago. Encoding is long run, I don’t consider myself as even good, not to say awesome guru lol (that doesn’t stop me from writing these guides, though). So, have fun.
Changelog:
v1.05
v1.05: advice from steelista added
v1.04: added absolute path for plugins to make clear that they’re not loaded from Avisynth default plugins directory
v1.03: some minor changes in introduction
Kopie komentářů
-
LamarBarlowe 2017-02-22 @ 09:04 I see your blog needs some fresh articles. Writing manually is time consuming, but there is solution for this. Just search for; Masquro’s strategies
-
RosieSmall 2017-11-26 @ 11:31 I have checked your site and i’ve found some duplicate content, that’s why you don’t rank high in google, but there is a tool that can help you to create 100% unique articles, search for; Boorfe’s tips unlimited content